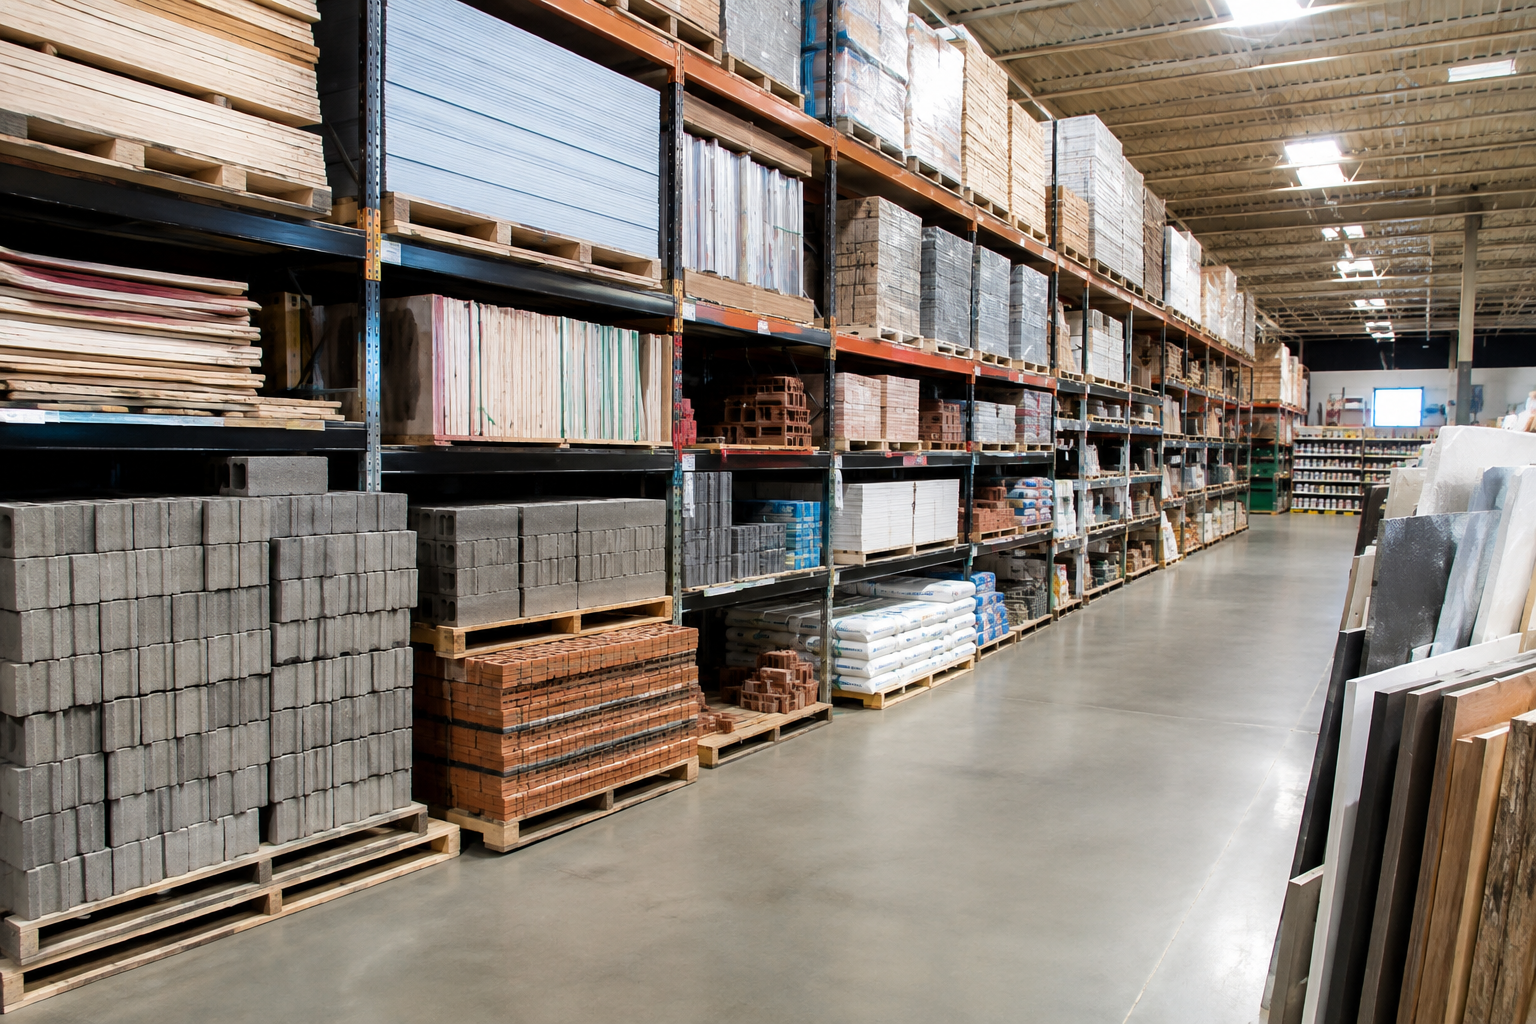
Graham Hardware essentials offer smart, stylish upgrades designed to make every room work harder and feel more like home. Explore practical ways to refresh your space, improve everyday functionality, and create a more cohesive look throughout your home.
- What Graham Hardware Essentials Can Upgrade Your Home?
- Identify the hardware categories that make the biggest difference
- Match upgrades to your home’s style, age, and daily needs
- How to Choose Graham Hardware for Doors, Cabinets, and Windows
- Compare materials, finishes, durability, and maintenance requirements
- Check measurements, compatibility, and product specifications before buying
- Which Graham Hardware Options Offer the Best Value?
- Balance upfront cost, expected lifespan, and replacement needs
- Compare functional upgrades with decorative hardware changes
- How to Plan and Install Graham Hardware Upgrades
- Build a project checklist for quantities, tools, and preparation
- Install safely and confirm alignment, fit, and operation
- Graham Hardware FAQs and a Practical Upgrade Checklist
What Graham Hardware Essentials Can Upgrade Your Home?
The Graham Hardware essentials that deliver the biggest upgrade are door and window hardware, plumbing fixtures, paint and finishing supplies, flooring and tiles, and basic fastening and repair tools. These items affect security, comfort, and appearance every day, so small replacements often produce visible results without a full renovation.
Identify the hardware categories that make the biggest difference
Start with the parts you touch and rely on daily. Worn locksets, loose hinges, and sticking sliding tracks make a home feel older than it is, and they are inexpensive to fix. Graham Hardware stocks doors, plumbing supplies, paint, tiles, lumber, cement, and steel, so one trip can cover cosmetic and structural needs.
- Security and access: locksets, deadbolts, hinges, gate latches, and padlocks.
- Water and bathrooms: taps, shower fittings, pipes, and fittings that reduce leaks and wasted water.
- Surfaces: interior and exterior paint, primer, and wall or floor tiles for a quick visual refresh.
- Structure and repair: lumber, cement, steel, screws, and anchors for fixing decks, fences, and shelving.
A practical rule: fix function first, then finish. Replace failing hinges or leaking taps before repainting, so new surfaces are not damaged by later repairs.
Match upgrades to your home’s style, age, and daily needs
The right upgrade depends on how old your home is, what it is built from, and how your household uses it. In Jamaica, humidity, salt air near the coast, and heavy rain wear out metal and wood faster, so durable, corrosion-resistant finishes are worth prioritising on exterior doors, gates, and windows.
- Older concrete or timber homes: replace rusted hardware, reseal exterior wood, and upgrade door security first.
- Newer builds: focus on style, such as matching handle finishes, updated tiles, and modern fixtures.
- Busy family homes: choose washable paint, sturdy hinges, and slip-resistant tiles.
- Rental or investment properties: standardise hardware across units to simplify maintenance and replacement.
Keep finishes consistent within each room, such as one metal tone for handles, taps, and cabinet pulls. This gives a cohesive look without a large budget.
How to Choose Graham Hardware for Doors, Cabinets, and Windows
The right Graham hardware for doors, cabinets, and windows comes down to two decisions: matching the material and finish to the conditions it will face, and confirming that every measurement and specification fits before you buy. Once you know which upgrades matter most for your home, these checks help you avoid returns, rework, and premature wear.
Compare materials, finishes, durability, and maintenance requirements
Jamaica's humidity, salt air near the coast, and strong sun affect hardware more than many buyers expect. Choose materials according to where the hardware will be used, not only how it looks.
| Material | Best for | Upkeep |
|---|---|---|
| Stainless steel | Coastal homes, exterior doors | Low; occasional wipe-down |
| Solid brass | Entry doors, decorative pieces | Moderate; polish as needed |
| Zinc alloy | Interior doors, cabinets | Low; avoid harsh cleaners |
| Plated steel | Budget interior projects | Moderate; plating can wear |
Finish matters as much as the base metal. Satin and brushed finishes hide fingerprints and water spots on kitchen cabinet pulls, while polished finishes show marks quickly. Powder-coated or anodized finishes on window hardware resist fading and corrosion better than thin plating.
- Use stainless steel or marine-grade options for exterior hinges, latches, and window stays.
- Choose ball-bearing hinges for heavy or frequently used doors.
- Pick soft-close cabinet hinges and drawer slides for kitchens that see daily use.
Check measurements, compatibility, and product specifications before buying
Accurate measurements prevent most hardware mistakes. Before ordering, record each dimension and compare it with the product specifications, then bring an old piece with you or photograph it clearly if you are replacing existing hardware.
- Doors: Check door thickness, backset (the distance from the door edge to the center of the bore), and bore hole diameter. Confirm whether you need a handing-specific lever, as left- and right-handed doors differ.
- Cabinets: Measure the center-to-center distance between existing screw holes on pulls. Common spacings include 3 in, 3¾ in, and 5 in. Also check hinge overlay type: full, half, or inset.
- Windows: Identify the window style (casement, awning, sliding, or louvre), frame material, and the weight the hardware must support.
Measure twice, then match the numbers to the product listing. A pull that is 2 mm off in hole spacing will not mount cleanly without drilling new holes.
Finally, confirm screw length, load rating, and whether fasteners are included. Hardware that fits perfectly on paper still fails if the screws are too short for the door or frame material.
Which Graham Hardware Options Offer the Best Value?
The best-value Graham hardware is the option with the lowest cost over its working life, not the lowest price tag. Once you have matched materials and measurements to your doors, cabinets, and windows, the next step is deciding where a higher spend pays off and where a budget choice is enough.
Balance upfront cost, expected lifespan, and replacement needs
Divide the price by the years of reliable use you expect. A door hinge or lockset that costs 50% more but lasts twice as long is the cheaper choice. In Jamaica's humid, salt-influenced climate, corrosion is the main reason hardware fails early, so material matters most on exterior doors, window fittings, gate hardware, and bathroom fixtures.
- Spend more on high-use items: entry door locks, hinges, sliding window tracks, and kitchen drawer slides.
- Choose corrosion-resistant finishes such as stainless steel or quality plated products for outdoor and coastal locations.
- Buy matching sets in one purchase so finishes and sizes stay consistent if you need spares later.
- Ask about contractor quantities if you are upgrading several rooms, since bulk buying can lower the cost per unit.
Compare functional upgrades with decorative hardware changes
Functional upgrades deliver the stronger long-term return, while decorative changes give the quickest visual lift for the least money. Functional upgrades include better locks, heavy-duty hinges, soft-close drawer slides, and sturdier window latches. They improve security, comfort, and durability, and they reduce repair calls.
Decorative changes, such as new cabinet pulls, door knobs, or a consistent finish across rooms, refresh a space without a major renovation. They work best when the existing hardware still operates well.
| Upgrade type | Typical benefit | Best used for |
|---|---|---|
| Functional | Security, durability, smoother use | Entry doors, windows, drawers |
| Decorative | Fresh look, low cost | Cabinets, interior doors |
A practical approach is to fix anything that sticks, sags, rusts, or fails to secure first. Then spend any remaining budget on finishes that tie the room together.
How to Plan and Install Graham Hardware Upgrades
Once you have chosen the upgrades that give the best value, a clear plan keeps the job on budget and avoids repeat trips for missing parts. Good planning comes down to accurate counts, the right tools, and a prepared work area.
Build a project checklist for quantities, tools, and preparation
A useful checklist lists every item, its quantity, and the measurement it depends on. Count each door, window, and cabinet separately, because older Jamaican homes often have mismatched sizes from different building phases. Add 5–10% extra for small fasteners such as screws, anchors, and washers, since they are easy to lose or strip.
- Hardware count: hinges (usually 3 per standard interior door), handles, locks, latches, catches, and drawer slides.
- Measurements: door thickness, backset, hinge size, cabinet door overlay, and drawer length.
- Tools: tape measure, pencil, level, drill with bits, screwdrivers, chisel, and a square.
- Preparation: clear the workspace, remove old hardware, and fill or sand damaged screw holes.
If you are upgrading several rooms, group the work by hardware type so you can install matching items in one session. Contractors buying larger quantities can also confirm stock in advance and arrange delivery to the site, which prevents delays mid-project.
Install safely and confirm alignment, fit, and operation
Safe installation starts with protecting yourself and the surface, then checking each piece before final tightening. Wear safety glasses when drilling, and switch off power at the breaker if you are working near wiring or fixtures. Support heavy doors or windows with a helper or wedges before removing hinges.
- Mark hole positions with a pencil, and use a template or the old hardware as a guide.
- Drill pilot holes slightly narrower than the screws to prevent splitting, especially in hardwood.
- Fit the hardware loosely first, then check level and spacing before fully tightening.
- Test the operation by opening, closing, locking, and latching several times.
If a door rubs or a latch misses its strike plate, adjust the hinge or plate position rather than forcing the fit.
Finish by checking for even gaps around doors and cabinet fronts, smooth movement, and secure fixings. Retighten screws after a few days of use, since wood can settle slightly after installation.
Graham Hardware FAQs and a Practical Upgrade Checklist
Match the hardware to the door, window, or cabinet it will replace, then to your home's climate and daily use. Concrete homes near the coast do best with corrosion-resistant finishes such as stainless steel or brass, while interior doors and cabinets can take lighter zinc or painted finishes. Bring the old piece to a Graham's Hardware store or note its size and style so staff can help you find a match.
Confirm the measurements and compatibility before you buy. Mistakes here are the most common cause of returns and delays.
- Door thickness, backset, and bore hole size for locks and handles.
- Hinge size, leaf width, and screw hole spacing.
- Cabinet pull hole spacing, measured center to center.
- Handing (left or right swing) for doors and latches.
- Screw length and material suited to wood, steel, or concrete.
- Quantity needed, plus a few spare screws and fasteners.
Yes, most homeowners can replace cabinet pulls, hinges, door handles, and basic locksets with a screwdriver, drill, tape measure, and level. Straightforward swaps usually take under an hour per item when the new hardware matches the existing holes. Call a tradesperson for jobs that involve cutting new mortises, reframing doors, fitting security systems, or working on heavy gates and sliding units, where poor alignment can affect safety.
Wipe surfaces with a soft damp cloth and mild soap, and avoid abrasive cleaners that strip protective finishes. Salt air and humidity speed up corrosion, so dry metal parts after cleaning and check exposed hardware every few months.
- Apply a light lubricant to hinges and lock mechanisms twice a year.
- Tighten loose screws before they strip the wood or frame.
- Replace worn parts early to protect doors and cabinets from damage.
Quick upgrade checklist: measure twice, confirm compatibility, match finishes to the environment, gather tools, order spares, and test every door, window, and drawer after installation.

Doors
Shop quality doors for every room and every budget at Graham's Hardware — Jamaica's #1 door supplier. We stock a massive range of doors including solid pine doors, mahogany doors, cedar doors, moulded doors, steel security doors, bifold doors, and flush ply doors, all available for island-wide delivery.
Whether you need a door for a bedroom, bathroom, office, or front entrance, we have the right door in the right size. Our doors come in standard widths of 24", 30", 32", and 36" x 80" to fit most door frames across Jamaica.
Door styles available:
- Pine doors — 6-panel, 8-panel, half french, cathedral, V-joint & more
- Mahogany doors — rich, premium hardwood doors for a luxurious finish
- Cedar doors — 6-panel and cathedral, naturally moisture-resistant
- Moulded doors — lightweight, durable, and affordable with a smooth finish
- Steel security doors — 6-panel, oval panel, and glass designs
- Bifold doors — louvre and 6-panel for closets and compact spaces
- Flush ply doors — smooth and affordable, ready to paint
Wholesale door pricing available for contractors and bulk orders. Shop at Graham's Hardware for the best door prices in Jamaica.